Augmented reality’s “point-and-place” promise often hides critical inaccuracies; mastering the technical variables is the only way to ensure your virtual plan matches reality.
- The accuracy of AR tools is not guaranteed and heavily depends on your phone’s sensor technology (LiDAR vs. standard camera) and environmental factors like lighting.
- Common mistakes like improper scaling, ignoring room flow, and trusting measurements in poor light can lead to buying furniture that doesn’t fit.
Recommendation: Before trusting any AR placement, verify it by understanding your device’s limitations, controlling the room’s lighting, and performing physical checks for walkways and viewing angles.
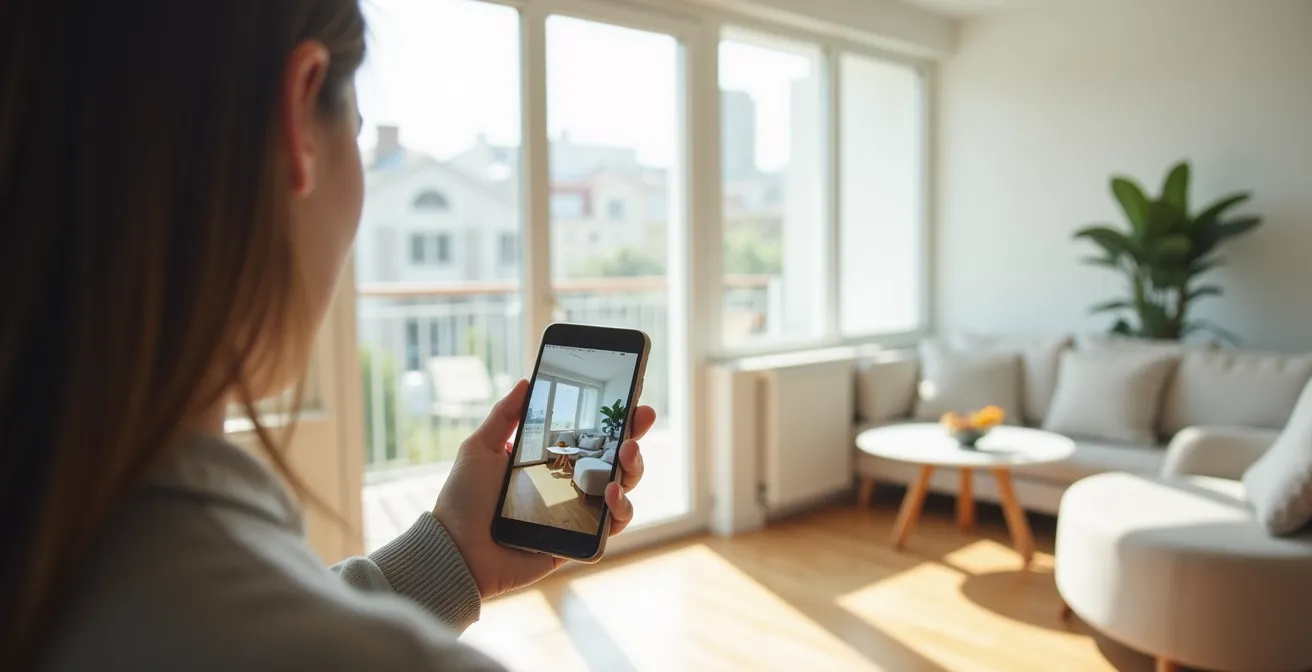
The dream of redecorating your home without lifting a single piece of heavy furniture is here. Augmented Reality (AR) apps promise to let you visualize a new sofa in your living room or test a dining table in your space, all through your smartphone screen. It seems like magic: point, place, and purchase with total confidence. But as many eager homeowners have discovered, there’s often a frustrating gap between the perfect virtual layout and the real-world result. That sleek virtual armchair can suddenly feel bulky, and the “perfectly-sized” bookcase can block a crucial walkway.
While most guides focus on listing popular apps, they often overlook the most critical question: can you actually trust what you see? The answer is a conditional ‘yes’. The common advice to “just download an app” ignores the underlying technology and user techniques that separate a helpful preview from a costly purchasing error. The true power of AR isn’t in the app itself, but in your ability to control the variables. It’s about understanding the subtle interplay of light, sensor technology, and spatial calibration.
This is where the expertise of an interior design tech specialist becomes invaluable. The key isn’t just seeing the furniture in your room; it’s about achieving genuine scale integrity and anticipating the perceptual gap between the 2D screen and 3D reality. This guide will move beyond the basics and delve into the technical realities of AR planning. We’ll explore why your phone’s measurements might be off, how to test colors in realistic lighting, and whether you truly need an expensive “Pro” phone to get reliable results. By mastering these details, you can finally use AR not just for inspiration, but for precision planning.
This article provides an in-depth exploration of the key factors for achieving accurate AR visualizations. Below is a summary of the topics we will cover to help you plan your space like a pro.
Summary: A Tech Specialist’s Guide to Flawless AR Furniture Planning
- Why Your Phone’s AR Tape Measure Might Be Off by 2 Inches?
- How to Use AR to Test Wall Colors in Changing Daylight Conditions?
- Virtual Try-On: Can You Trust AR for Size and Fit of Glasses?
- The Scaling Mistake That Results in Buying Furniture That Doesn’t Fit
- LiDAR vs. Standard Camera: Do You Need a Pro Phone for Accurate AR?
- Optical or Digital Zoom: When Does Image Quality Break Down for Product Shots?
- Why Working Directly on a Laptop Screen Causes Neck Pain Within 3 Weeks?
- Why a $20 Ring Light Improves Sales More Than a New $1000 Phone?
Why Your Phone’s AR Tape Measure Might Be Off by 2 Inches?
One of the first AR tools many people try is the virtual tape measure. It seems revolutionary—instant measurements without fumbling with a physical tape. However, when you measure a 10-foot wall and get a result of 9 feet and 10 inches, that two-inch discrepancy can be the difference between a new cabinet fitting snugly or not at all. This inaccuracy isn’t a bug; it’s an inherent limitation of the technology. Standard camera-based AR works by identifying feature points on surfaces (like textures and corners) and tracking the phone’s movement relative to them. Any error in this tracking, however small, accumulates over distance.
The quality of your spatial calibration depends heavily on environmental factors. Poor lighting, reflective floors, or plain, featureless walls give the camera’s algorithm very little to “hold on to,” increasing the margin of error. While studies show that under ideal conditions, smartphone AR meters evaluated for accuracy found an average error of less than 3%, this can still be significant. For a 15-foot (180-inch) room, a 3% error is over 5 inches. Some apps are even reported to have error margins as high as 5%, which can translate to a foot-long error in a 20-foot room, creating major furniture fit problems.
To get the most accurate measurements possible, you must create the ideal conditions for the app. Ensure the room is well-lit, start your measurement close to the object (ideally 1-3 feet away), and move the phone slowly and steadily. After taking a measurement, take a few steps to the side. If the virtual line stays locked to the real-world points, your measurement is likely reliable. If it drifts, you need to rescan and measure again. This constant verification is the key to trusting your AR tape measure.
How to Use AR to Test Wall Colors in Changing Daylight Conditions?
Choosing a wall color is notoriously difficult. A swatch that looks like a warm, inviting beige under the store’s fluorescent lights can turn into a drab, muddy grey in the cool morning light of your own home. AR apps that let you “paint” your walls virtually aim to solve this problem, but they too are subject to the whims of light. The color you see on your screen is a digital overlay, and how your brain perceives it is profoundly influenced by the ambient light in the room at that exact moment.
The fundamental challenge is that a standard phone camera doesn’t capture light the same way the human eye does. It tries to auto-correct for white balance, which can distort the virtual color’s appearance. A test done at noon in direct sunlight will yield a completely different result than one done at dusk. To use these tools effectively, you must test the color under the full range of lighting conditions your room experiences. Don’t just test once; check the virtual color in the morning, at midday, in the late afternoon, and at night with your artificial lights on.
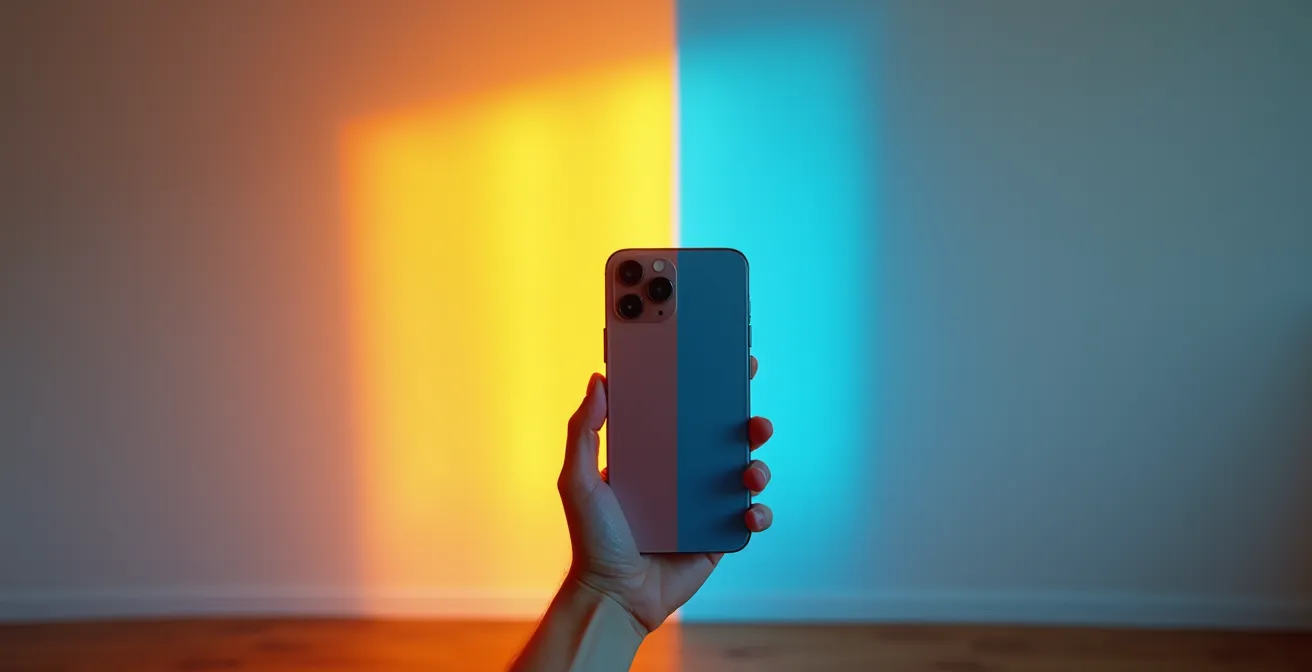
This image perfectly illustrates the challenge. The same wall appears dramatically different as the light shifts from the warm tones of golden hour to the cool blues of evening. A single AR test cannot account for this. The best practice is to take screenshots of the virtual color at different times of the day. Then, compare these screenshots side-by-side to get a more holistic understanding of how the color will live in your space. This methodical approach counters the camera’s limitations and gives you a much more reliable preview than a single, static test.
Virtual Try-On: Can You Trust AR for Size and Fit of Glasses?
The concept of virtual try-on extends beyond large furniture to personal items like eyeglasses. The promise is to see how a frame’s shape and size suit your face without leaving home. But can you really trust AR to determine if a pair of glasses will fit comfortably? The accuracy here depends on one critical factor: scale integrity. The app must correctly map the 3D model of the glasses onto the 3D map of your face. Any error in scale can make a well-fitting frame look comically oversized or uncomfortably small.
Modern AR has become remarkably precise. For furniture, some platforms claim that modern AR furniture visualization achieves 85-92% accuracy for size and placement. This level of precision is often mirrored in high-quality facial tracking AR. Leading retailers have invested heavily in this technology, and well-known apps like IKEA Place boast high accuracy rates on their item scaling. When applied to glasses, this means the virtual representation of lens width and bridge size is often very close to the real thing.
However, “fit” is more than just dimensions; it’s also about weight, pressure points, and how the arms sit on your ears—sensory feedback that AR cannot provide. Therefore, virtual try-on is an exceptional tool for judging aesthetics—the shape, the color, and the overall style. Does this cat-eye frame complement your face shape? Does the bold red color work with your skin tone? AR answers these questions brilliantly. But for confirming comfort and physical fit, it remains a powerful filtering tool, not a final confirmation. Use it to narrow down your choices from hundreds to a select few, then use the provided measurements to compare with a pair you already own and find comfortable.
The Scaling Mistake That Results in Buying Furniture That Doesn’t Fit
The single most costly mistake in AR furniture planning is a failure of scale. You meticulously place a virtual sectional sofa in your living room, it looks perfect on screen, and you click “buy.” When it arrives, you discover it’s six inches wider than you expected, completely blocking the doorway to the balcony. This happens because of a subtle but critical error: confusing the object’s scale with its spatial impact. The AR app may render the sofa with perfect dimensional accuracy, but it can’t simulate the “negative space” required for human movement around it.
People often focus solely on the object’s footprint, forgetting about walkways, door swings, and lines of sight. Getting the scale right has a proven financial benefit; a study showed that AR implementation reduces size-related returns by 71%. To be part of that success statistic, you must actively check for what designers call “room flow.” After placing a virtual item, don’t just admire it from one angle. Do the following checks:
- The Walkway Test: Virtually “walk” around the item. Is there at least 3 feet of clearance for major traffic paths?
- The Doorway View: Stand in the main doorway of the room. Does the new piece block the visual flow or make the room feel cramped upon entry?
- The Seated Perspective: Sit in your favorite chair or on the existing sofa. Does the new item obstruct your view of the television, the window, or a piece of art?
This process is especially vital in small spaces where every inch is critical. For instance, when placing a new dining table, use the AR tool to see if you can still pull out the chairs completely without hitting a wall or another piece of furniture. This focus on the space *around* the object is the key to avoiding the most common and expensive scaling mistake.
LiDAR vs. Standard Camera: Do You Need a Pro Phone for Accurate AR?
Not all smartphone cameras are created equal when it comes to AR. If you’ve ever noticed that AR objects seem to “float” or “jitter” on your phone, while on a friend’s newer device they appear solidly anchored to the floor, you’ve witnessed the difference in sensor fidelity. The key distinction is between standard camera-based AR and LiDAR-powered AR. LiDAR (Light Detection and Ranging) is a sensor that actively fires out pulses of infrared light to create a precise 3D depth map of the environment, much like a bat uses sonar.
A standard camera works passively, guessing at depth by analyzing the 2D image. LiDAR, on the other hand, measures it directly. This results in significantly better performance. It can instantly recognize surfaces like floors and walls, even in lower light, and it allows for “object occlusion,” where a virtual object realistically disappears behind a real one (like a virtual chair behind your real coffee table). This difference is quantifiable: reports indicate that LiDAR-enabled devices provide higher accuracy (92-95%) compared to standard camera-based AR (85-89%). That percentage difference can mean inches in the real world.

So, do you need a “Pro” phone with LiDAR? It depends on your tolerance for error. For casual visualization and getting a general idea of style, a standard camera is often sufficient. But if you are making a high-stakes purchase, planning a custom built-in, or working with very tight tolerances, the superior accuracy of LiDAR provides critical peace of mind. The investment in a LiDAR-equipped device can pay for itself by preventing a single costly purchasing mistake based on an inaccurate standard camera scan. To better understand the practical differences, this comparative analysis of sensor technology offers a clear breakdown.
| Aspect | LiDAR | Camera-based AR |
|---|---|---|
| Precision | cm-level precision | 2-4 inch variance typical |
| Resolution | High 3D point cloud density | Depends on image quality |
| Weather Performance | Affected by fog/rain | Works in consistent lighting |
| Cost | Premium devices only | Most modern smartphones |
Optical or Digital Zoom: When Does Image Quality Break Down for Product Shots?
When examining a virtual product in an AR app, our natural instinct is to “pinch-to-zoom” on the screen to see finer details, like the texture of a fabric or the grain of a wood finish. However, this action is misleading. In the world of AR, there is no “optical zoom” as you’d find on a camera lens. When you pinch-to-zoom on a virtual object, you are simply performing a digital zoom—enlarging the pixels of the 3D model’s texture map. This inevitably leads to a breakdown in image quality, resulting in a blurry, pixelated view that tells you nothing about the real-world finish.
The quality of a virtual product “shot” is determined by the resolution of the 3D model and its associated textures, not by your phone’s camera zoom capabilities. High-quality retailers invest in high-resolution models, but even these have their limits. The proper way to inspect a virtual object up close is not to zoom with your fingers, but to “zoom with your feet.” You should physically walk closer to the virtual object. This prompts the AR application to render the object from a new, closer perspective, maintaining the highest possible texture resolution and giving you a much more realistic impression of its surface details.
This principle is a core tenet of effective AR visualization. Interacting with the virtual space as if it were a physical one yields far more accurate results. Instead of staying rooted in one spot, move around the object, crouch down to see it from a low angle, and step back to see it from across the room. This physical interaction helps your brain better process the object’s scale and presence, overcoming the limitations of viewing a 3D space on a 2D screen.
Your Action Plan: Best Practices for AR Furniture Visualization
- Get Closer: Always walk physically closer to virtual objects to inspect details. Avoid the “pinch-to-zoom” gesture, as it only degrades image quality.
- Check Textures on Websites: Before placing an item in AR, use the high-resolution optical zoom features on the retailer’s product page to get a true sense of fabric or material texture.
- Mind the Context: After placing an object, take a full room screenshot. This provides better context of scale and proportion than a close-up shot.
- Scan Accurately: When initiating a scan, move closer to the specific area you want to measure or place an object on, rather than trying to scan the whole room from a distance.
- Vary Your Viewpoint: Look at the virtual object from multiple angles and distances, including from doorways and your usual seating positions, to assess its true impact on the space.
Why Working Directly on a Laptop Screen Causes Neck Pain Within 3 Weeks?
The connection between neck pain from laptop use and AR furniture planning may not seem obvious, but it highlights a crucial, often-overlooked aspect of interior design: ergonomics. Chronic neck pain is frequently caused by poor posture, forcing your head down to look at a screen that’s too low. The same ergonomic principles apply to your entire living space. A sofa with the wrong seat depth, a coffee table at the wrong height, or a TV placed at an awkward angle can all contribute to physical discomfort over time. AR’s greatest untapped potential lies not just in aesthetic planning, but in ergonomic planning.
Instead of enduring the back-breaking work of moving heavy furniture to test different layouts, you can use AR to optimize your space for comfort and health. The technology allows you to experiment with placement from your smartphone, saving you time and, more importantly, physical strain. You can test the placement of a standing desk to ensure it has enough clearance, or position a new armchair to see if it allows for a comfortable viewing angle to the TV without craning your neck. This proactive approach to design can prevent the very kind of chronic pain associated with poor workstation setups.
This rapid testing is perfectly suited for ergonomic validation. As Artem Kropovinsky, founder of Arsight, noted in a statement for Newroom.io, AR is a transformative tool for the design process:
AR lets designers quickly test ideas. They can change colors, textures, and layouts in a virtual space. It’s a game-changer for the design process.
– Artem Kropovinsky, Arsight
By using AR to plan for posture, viewing angles, and comfortable movement, you are designing a space that not only looks good but also supports your long-term well-being, effectively preventing the physical strains that come from a poorly arranged environment.
Key Takeaways
- AR accuracy is not a given; it’s a result of user technique, phone technology (LiDAR enhances precision), and environmental control, especially lighting.
- Avoid costly mistakes by using AR to check for “room flow,” walkways, and views from different angles, not just whether an item’s footprint fits.
- Interact with AR physically: walk closer to inspect details instead of using a digital “pinch-to-zoom,” and test colors at various times of day to see how they react to changing light.
Why a $20 Ring Light Improves Sales More Than a New $1000 Phone?
In the context of AR, this question translates to a fundamental truth: the quality of your environment is often more important than the quality of your device. You can have the latest LiDAR-equipped smartphone, but if you’re trying to scan a room in dim, shadowy light or harsh, direct sunlight, the results will be poor. AR technology, whether standard or LiDAR-based, relies on light to “see” the world. Consistent, even lighting is the single most important environmental factor for achieving an accurate spatial scan.
Shadows are the enemy of AR. They can be misinterpreted as physical edges or holes in a surface, causing the AR tracking to fail or the virtual object to drift. Highly reflective surfaces, like a polished marble floor or a glossy cabinet, can also confuse the sensor by bouncing light in unpredictable ways. As AR experts at Matterport explain, bright sunlight or shiny floors can distort the sensor’s return signal, leading to noise and gaps in the 3D map of your room. This is why a simple, inexpensive lighting tool like a ring light—or even just turning on all your lamps and opening the blinds on an overcast day—can produce a more accurate result than a top-of-the-line phone in a poorly lit space.
To set yourself up for success, your goal is to create a “flat,” shadow-free lighting environment. Scan during the day with blinds or curtains diffusing any direct sunlight. At night, turn on multiple light sources to eliminate dark corners. If you have a portable lamp or ring light, use it to fill in any shadows on the surfaces you are trying to scan. By taking control of the lighting, you provide the AR app with the clean, clear data it needs to build a reliable map of your space, ensuring your virtual furniture stays firmly and accurately planted in your real-world room.
You now possess the specialist knowledge to move beyond casual AR use and employ it as a precision planning tool. By controlling for lighting, understanding your device’s sensor fidelity, and actively verifying scale and room flow, you can design your space with a level of confidence that was previously impossible. This methodical approach transforms AR from a fun novelty into an indispensable part of a smart, efficient, and ergonomically sound home renovation. Start applying these principles today to ensure your next furniture purchase is a perfect fit in every sense of the word.