Your gaming laptop’s thermal throttling isn’t a simple “cooling pad vs. repaste” problem; it’s a failure of its entire thermal ecosystem, which you can systematically re-engineer.
- Physical maintenance like fan cleaning and ensuring proper airflow is the non-negotiable foundation for any performance gains.
- Advanced software tweaks, particularly CPU undervolting, offer the most significant temperature drops without sacrificing performance.
Recommendation: Instead of searching for a single magic bullet, treat cooling as a holistic project. Start with a thorough cleaning and undervolting before considering high-risk hardware mods like liquid metal.
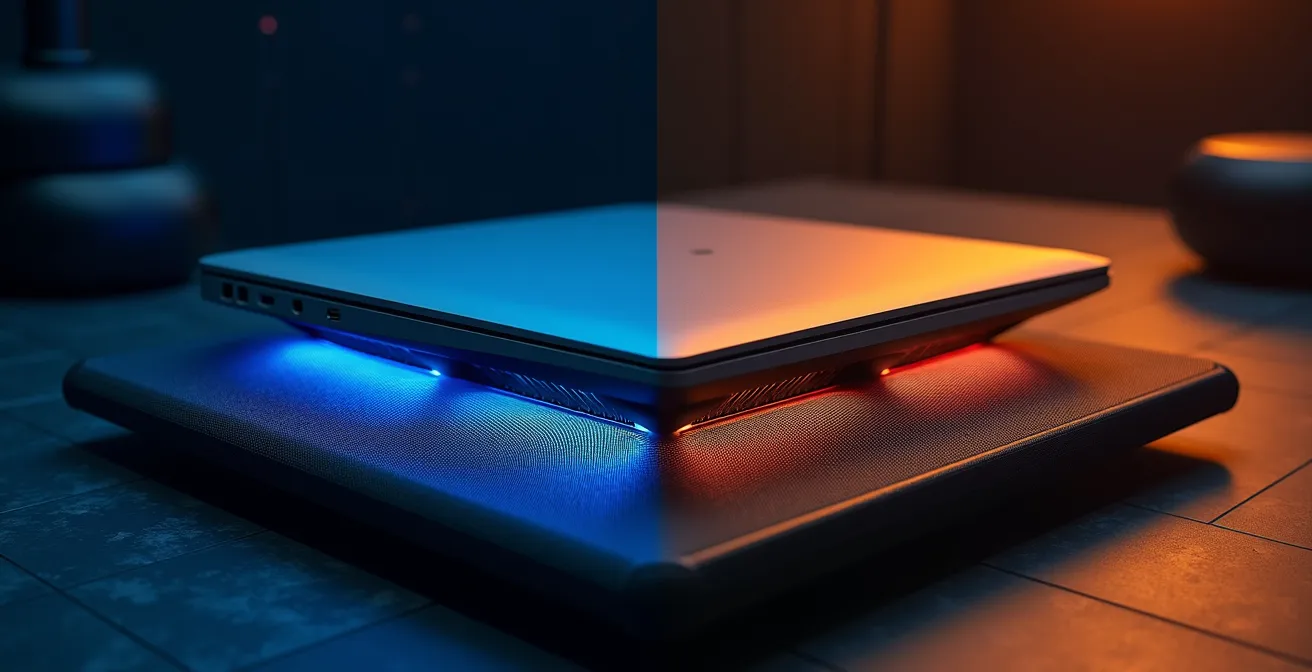
You know the feeling. You’re 30 minutes into a session on your high-end gaming laptop. The frame rate is buttery smooth, the experience is immersive, and then it happens. The familiar stutter, the sudden drop from 60 to 35 FPS, the whirring of fans screaming in protest. Your machine is thermal throttling, suffocating on its own heat and robbing you of the performance you paid for. The common wisdom presents a simple choice: buy an external cooling pad or undertake the risky process of repasting the CPU and GPU.
This debate, however, misses the point entirely. These are just two components of a much larger picture. The truth that hardware enthusiasts know is that a gaming laptop is a delicate thermal ecosystem. When it fails, it’s rarely due to a single fault. It’s a cascade failure of airflow, heat transfer, and power management. Relying on a single fix is like trying to patch a leaky dam with a single piece of tape.
But what if the real solution wasn’t choosing between a pad or a paste, but instead, becoming the architect of your laptop’s cooling? By treating this as a holistic engineering challenge, you can go far beyond the generic advice and reclaim every frame. This is about taking control of the entire system—from the air it breathes to the voltage it consumes.
This guide will walk you through each critical layer of your laptop’s thermal ecosystem. We will cover the non-negotiable physical maintenance, the high-risk/high-reward internal modifications, and the powerful software tweaks that give you granular control over your machine’s performance and temperature. Prepare for a deep dive.
Summary: Cooling Pad or Repasting: Which Solution Stops Your Gaming Laptop from Throttling?
- Why You Must Clean Your Laptop Fans Every 6 Months to Maintain FPS?
- Liquid Metal: Is the 5-Degree Drop Worth the Risk of Shorting Your Motherboard?
- The Usage Mistake of Gaming on a Tablecloth That Suffocates Your PC
- How to Undervolt Your CPU to Drop Temps by 10°C Without Losing Performance?
- Silent or Max: How to Set Custom Fan Curves to Balance Noise and Heat?
- How to Clean Charging Ports Safely to Avoid Fake Charging Issues?
- The Heat Mistake That Causes “Ghost Touches” During Intense Gaming
- Does Unplugging Phone Chargers Actually Save Money on Your Electricity Bill?
Why You Must Clean Your Laptop Fans Every 6 Months to Maintain FPS?
Before you even think about undervolting or repasting, you must address the single biggest cause of thermal throttling: dust. Your gaming laptop’s fans are powerful, acting like tiny vacuum cleaners that pull in air, along with dust, pet hair, and microscopic debris. Over time, this material compacts into a dense blanket that clogs heatsink fins and suffocates your components. This insulation prevents heat from escaping, forcing your CPU and GPU to drastically cut performance to avoid damage. The result is stuttering, lower frame rates, and unexpected shutdowns.
The performance recovery from a simple cleaning can be staggering. It’s not a minor improvement; it’s often a night-and-day difference. On forums, it’s common to see that after a thorough cleaning of a dust-caked system, one user reported experiencing a huge FPS boost, effectively restoring the laptop to its factory performance. Forgetting this step is like tuning a race car engine without ever changing the air filter. Regular cleaning every six months is the most crucial, non-negotiable maintenance you can perform to maintain a stable gaming experience.
Your 6-Step Laptop Fan Cleaning Plan
- Power Down and Disconnect: Completely shut down and unplug your laptop. If it has a removable battery, take it out to eliminate any risk of electrical shorts.
- External Vent Blast: Use short bursts of compressed air to blow out the intake and exhaust vents from multiple angles. Use a plastic tool or your finger to gently hold the fan blades still to prevent them from over-spinning and getting damaged.
- Open for Direct Access: If you are comfortable, open the bottom panel of your laptop (always follow manufacturer guides or iFixit teardowns for your specific model) to get direct access to the fans and heatsink.
- Detailed Fan Cleaning: Carefully remove the fans if possible. Use a soft brush, like a clean toothbrush or paintbrush, to gently dislodge compacted dust and fibers from the blades.
- Heatsink Fin Clearance: Aim compressed air directly at the heatsink fins, blowing the dust out in the direction of the natural airflow (usually from the inside out). Ensure all visible blockages are cleared.
- Verify and Monitor: Reassemble everything, power on your laptop, and run a temperature monitoring tool like HWMonitor or Core Temp. You should see a significant drop in idle and load temperatures.
Liquid Metal: Is the 5-Degree Drop Worth the Risk of Shorting Your Motherboard?
Once your laptop’s airflow is clean, the next bottleneck is heat transfer from the CPU/GPU die to the heatsink. This is where Thermal Interface Material (TIM), or thermal paste, comes in. For enthusiasts chasing every last degree, the ultimate upgrade is replacing standard silicone paste with liquid metal. The performance claims are not exaggerated; while the title mentions a 5-degree drop, real-world results are often more dramatic. A high-quality application of liquid metal can lower CPU and GPU temperatures by 10°C to 20°C compared to stock pastes. This massive increase in thermal headroom can eliminate throttling entirely and even open the door for overclocking.
However, this performance comes with significant risk. Unlike traditional pastes, liquid metal compounds (like Thermal Grizzly Conductonaut) are electrically conductive. A single misplaced droplet or a leak over time can bridge a circuit on the motherboard, permanently destroying your expensive machine. It also reacts corrosively with aluminum, meaning you must ensure your heatsink is copper. This is a mod for experts who understand the risks and are meticulous in their application, using foam dams and conformal coating to protect surrounding components.
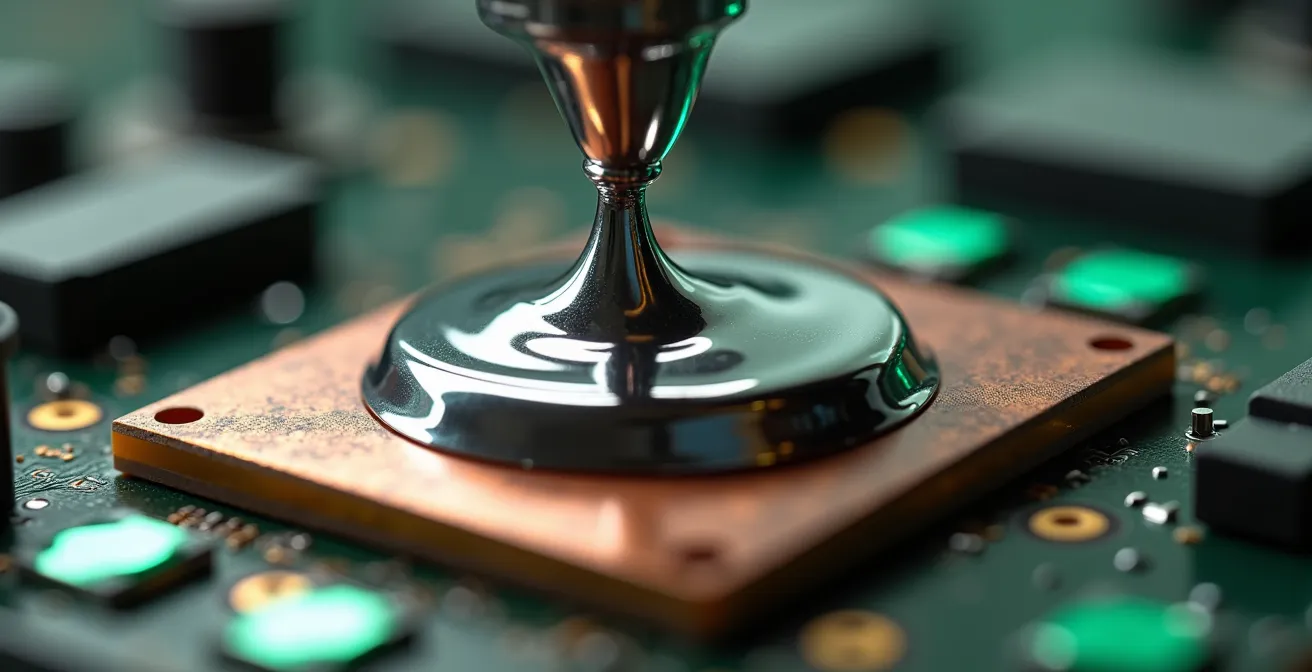
The visual above shows the precision required. The silvery compound must be perfectly contained. For many, the risk of a catastrophic short circuit outweighs the benefit, especially when safer, high-performance traditional pastes can still offer a solid temperature improvement without the danger. The choice depends entirely on your risk tolerance and technical skill.
This comparative table breaks down the critical differences, making it clear that liquid metal is a high-stakes game.
| Aspect | Liquid Metal | Traditional Paste |
|---|---|---|
| Temperature Drop | 10-20°C | 3-8°C |
| Electrical Conductivity | Yes (dangerous) | No (safe) |
| Aluminum Compatibility | Destroys aluminum | Compatible |
| Longevity | 1-2 years (drying) | 3-5 years |
| Application Difficulty | Expert level | Beginner friendly |
| Warranty Impact | Voids warranty | Usually safe |
The Usage Mistake of Gaming on a Tablecloth That Suffocates Your PC
You can have the cleanest fans and the most exotic thermal paste, but it all means nothing if your laptop can’t breathe. The single most common usage mistake is placing the laptop on a soft, uneven surface like a bed, a couch, or even a tablecloth. These surfaces conform to the bottom of the chassis, completely blocking the critical air intake vents. This is the equivalent of forcing a marathon runner to breathe through a straw. The fans spin furiously but can’t draw in cool air, leading to rapid heat buildup and inevitable throttling.
The solution is simple but profoundly effective: always game on a hard, flat surface like a desk or a table. This ensures the built-in rubber feet provide a small but essential gap for air to enter. For an even greater boost, you can elevate the rear of the laptop. You don’t even need a fancy stand; an old-school trick is to simply place bottle caps under the rear feet. This simple hack significantly increases the volume of cool air available to the fans, improving thermal performance with zero cost. Ensuring at least six inches of clearance around all exhaust ports is equally important to prevent hot air from being recycled back into the system.
Mastering your laptop’s placement and airflow is the easiest win in the fight against heat. Before investing in any hardware, make sure you are not making these fundamental mistakes:
- Always use hard, flat surfaces. Desks and tables are your best friends.
- Never use soft surfaces. Beds, couches, carpets, and blankets are guaranteed to cause overheating.
- Elevate the rear. A 15-30 degree angle drastically improves natural convection and airflow to the intakes.
- Keep vents clear. Ensure no obstructions are within several inches of the intake and exhaust ports.
- Consider a stand for long sessions. A dedicated stand (even a simple, non-powered one) is the best way to guarantee optimal airflow.
How to Undervolt Your CPU to Drop Temps by 10°C Without Losing Performance?
Of all the advanced tweaks, undervolting offers the best performance-per-degree improvement with the lowest risk. Undervolting is the process of reducing the amount of voltage fed to your CPU without lowering its clock speed. Manufacturers often supply CPUs with more voltage than necessary to ensure stability across millions of units with varying silicon quality. By carefully lowering this voltage, you reduce power consumption, which in turn dramatically reduces heat output. This creates more thermal headroom for your CPU to maintain its maximum boost clocks for longer periods.
The beauty of undervolting is that, when done correctly, it has a negligible impact on performance. In fact, by preventing thermal throttling, it often increases sustained performance in long gaming sessions. Tools like Throttlestop or Intel XTU allow you to incrementally decrease the voltage and test for stability. The results can be remarkable, with comprehensive testing across multiple CPUs showing a 15-20°C temperature reduction while retaining over 99% of peak performance. This is often more effective than a cooling pad and completely free.

As the experts at Ultrabookreview’s technical team point out in their advanced guide, this is a direct path to a cooler, quieter machine. They state:
The greater the undervolt, the cooler the CPU will run and the less power it will use. This can lead to temperature drops under full load of anywhere between 5-15C.
– Ultrabookreview Technical Team, Advanced laptop tweaks guide
This process of “voltage discipline” is a core skill for any laptop enthusiast. It requires patience to find the stable limit for your specific chip, but the reward is a laptop that runs significantly cooler and quieter, finally delivering the consistent performance it promised.
Silent or Max: How to Set Custom Fan Curves to Balance Noise and Heat?
The final layer of control in your thermal ecosystem is managing your fans. Manufacturer-provided fan curves are often a one-size-fits-all compromise, either too loud in light use or too slow to react under heavy load. By setting a custom fan curve using your laptop’s command center software or third-party tools, you can tailor the cooling response precisely to your needs, balancing acoustic comfort with raw cooling power. This allows you to dictate exactly how aggressively the fans should spin as internal temperatures rise.
Setting up a custom curve is simpler than it sounds and can make a huge difference in both thermals and user experience. Instead of the fans suddenly ramping up and down (known as the “yo-yo effect”), you can create a smooth, progressive curve. You can have a “silent” profile for library or office work and an aggressive “max performance” profile for gaming. This level of control keeps the laptop cooler during intense moments while preventing unnecessary noise during simple tasks like browsing the web. It’s about making the machine work for you, not the other way around.
Here are three template profiles you can adapt as a starting point for your own custom curves:
- Library Mode (Silence Priority): Keep fans at their minimum RPM (e.g., 30%) until the CPU hits 70°C. Then, implement a very gradual ramp to 60% fan speed at 85°C. This ensures the machine stays nearly silent during all light tasks.
- Balanced Gaming (Responsive Curve): Start with an exponential curve. Fans at 40% at 60°C, ramping up quickly to 80% at 80°C. Critically, add a 2-3°C hysteresis to prevent the fans from rapidly cycling up and down as the temperature hovers around a set point.
- Max Performance (Cooling First): Use an aggressive linear ramp. Have fans jump to 50% speed as soon as temps hit 50°C, and then climb in a straight line to 100% speed at 85°C. This profile accepts fan noise as a necessary trade-off for maximum thermal headroom.
How to Clean Charging Ports Safely to Avoid Fake Charging Issues?
While often discussed in the context of smartphones, power delivery issues are also relevant to gaming laptops, albeit in a different way. A dirty or obstructed charging port on your laptop can lead to a poor connection. While it might not show “fake charging,” a loose connection can cause the system to intermittently switch between AC power and battery power. When this happens during a game, the laptop’s power plan may instantly flip to a low-performance battery profile, causing a massive, sudden drop in FPS that feels just like thermal throttling. Dust and lint are the primary culprits.
Safely cleaning the port is crucial to avoid damaging the sensitive pins inside. Never use metal objects like paperclips or pins, as they can cause a short circuit or physically damage the contacts. The safest method involves materials that are non-conductive and gentle. A can of compressed air is the first tool to try, using short bursts to dislodge any loose debris.
If debris is more compacted, a wooden or plastic toothpick is your next best option. Power down the laptop and unplug the charger completely. Gently use the tip of the toothpick to scrape the inside walls of the port and carefully pry out any impacted lint or dust. Work slowly and with minimal pressure. Following this with another blast of compressed air will ensure the port is completely clear. A clean, secure power connection is a simple but vital part of ensuring your rig gets the stable power it needs for high performance.
The Heat Mistake That Causes “Ghost Touches” During Intense Gaming
One of the more bizarre and frustrating symptoms of extreme overheating is the phenomenon of “ghost touches.” This is when your touchpad registers clicks or movements you didn’t make, or if you have a touchscreen, it registers phantom taps on the screen. This isn’t a software bug or a virus; it’s a direct physical consequence of a component overheating within your laptop’s chassis. The extreme heat generated by an unmanaged thermal system can interfere with the sensitive electronic controllers that manage your input devices.
The touchpad and touchscreen digitizer controllers are highly sensitive to electrical interference and temperature fluctuations. When the internal temperature of the laptop soars, the heat can cause these controllers to malfunction, misinterpreting electronic noise as a legitimate user input. This is a critical warning sign. If your laptop is getting hot enough to cause ghost touches, it is operating far beyond its safe thermal limits. It’s a clear indication that your thermal ecosystem has completely failed and immediate action is required to prevent permanent damage to your components.
Think of ghost touches as the final, desperate alarm bell from your machine. It’s telling you that the foundational cooling solutions—clean fans, clear airflow, and proper thermal transfer—are not being met. While you might be tempted to just disable the touchpad, this is ignoring the root cause. The only real solution is to address the underlying thermal crisis by working through the steps of cleaning, improving airflow, and managing system voltage and fans.
Key Takeaways
- Throttling is a system-wide problem, not a single component failure. A holistic approach is required.
- Physical maintenance is the non-negotiable foundation. Clean fans and unobstructed airflow must be addressed before any other tweaks.
- Advanced software modifications, especially undervolting and custom fan curves, offer the highest performance-to-heat ratio with minimal risk.
Does Unplugging Phone Chargers Actually Save Money on Your Electricity Bill?
There’s a common debate about the “vampire power” drawn by chargers left plugged into the wall. While it’s true they consume a tiny amount of energy, worrying about it is missing the forest for the trees in a gamer’s setup. The real energy waste isn’t coming from your phone charger; it’s coming from the inefficiency of your throttling gaming laptop. When a laptop’s cooling system can’t keep up, the components get hotter, their electrical resistance increases, and they draw more power to perform the same tasks.
This isn’t a trivial amount. An optimized, well-cooled gaming laptop might draw 150W under full load while delivering maximum performance. That same laptop, when thermally throttling, can draw significantly more. In some cases, the real power difference shows a jump to 180W or more as the system struggles against its own heat, all while delivering worse performance. You are literally paying more for a laggier, stuttering experience. The 30W+ difference in power consumption from an inefficient, hot system completely dwarfs the fraction of a watt your phone charger might use in a day.
Therefore, the most effective way to save money on your electricity bill as a gamer isn’t to obsess over unplugging small accessories. It’s to ensure your primary machine is running as efficiently as possible. Every step you take to improve your thermal ecosystem—cleaning fans, undervolting the CPU, setting smart fan curves—not only boosts your FPS but also reduces your power consumption. An efficient, cool-running rig is better for your wallet and your in-game performance.
Your journey to a throttle-free experience begins now. Don’t look for a single purchase to solve your problems. Instead, embrace the role of an engineer. Pick one area from this guide—start with a thorough cleaning—and begin the rewarding process of systematically optimizing your machine for the cool, stable performance it was always meant to deliver.